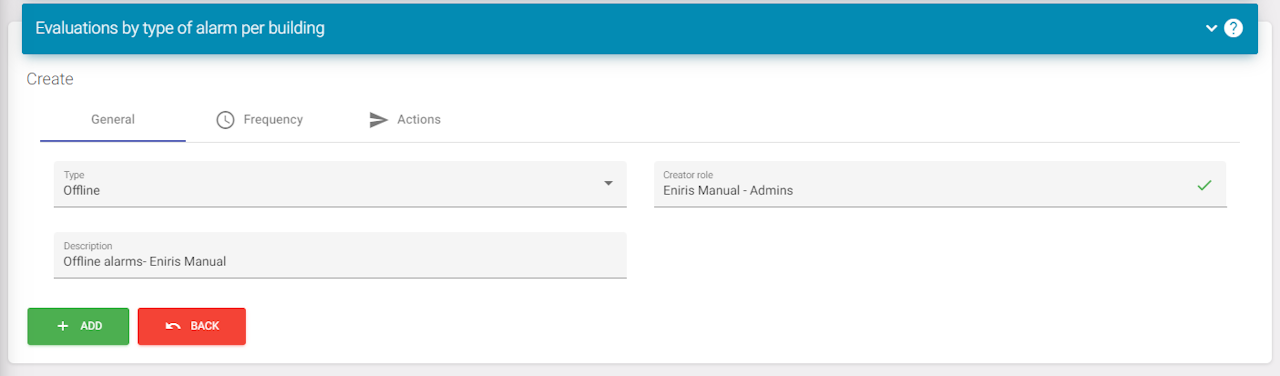
Adding a new alarm
To add an alarm you need to enter 3 fields.
-
Type: This is to say what type of alarms you want to get an email for. (This depends on what you configured in the datapoints themself)
-
Creator role: For this you look for the building you want an alarm for. This is only per building so you'll need to set up multiple alarms like this if you have more buildings. Here you pick one of the roles, this does not matter what.
-
Description: Name of your alarm. I recommend using type of alarm - name of building. This keeps it easy to manage.
When these are filled in you can click on 'Frequency' and go to the next step.
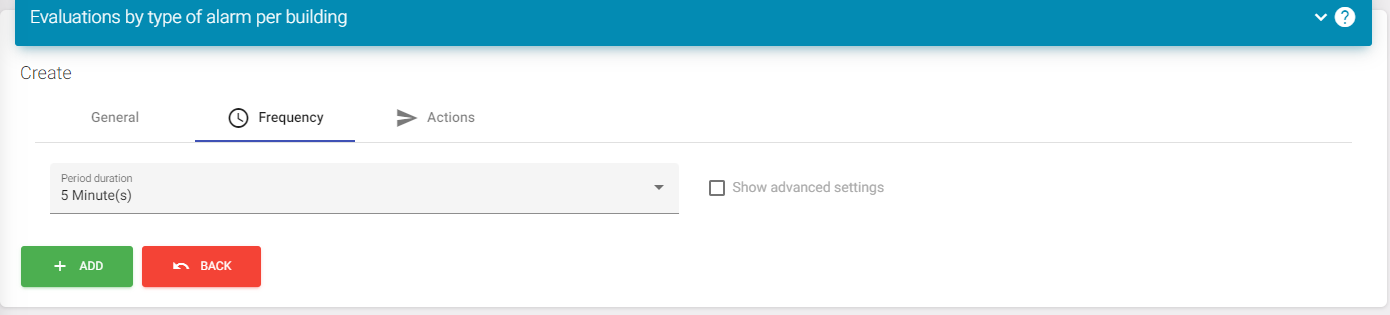
Frequency
This is standard set to the highest frequency. You don't want to edit this. Now you have to click on 'Actions' and go to the next step.
Deprecated:
- Advanced settings
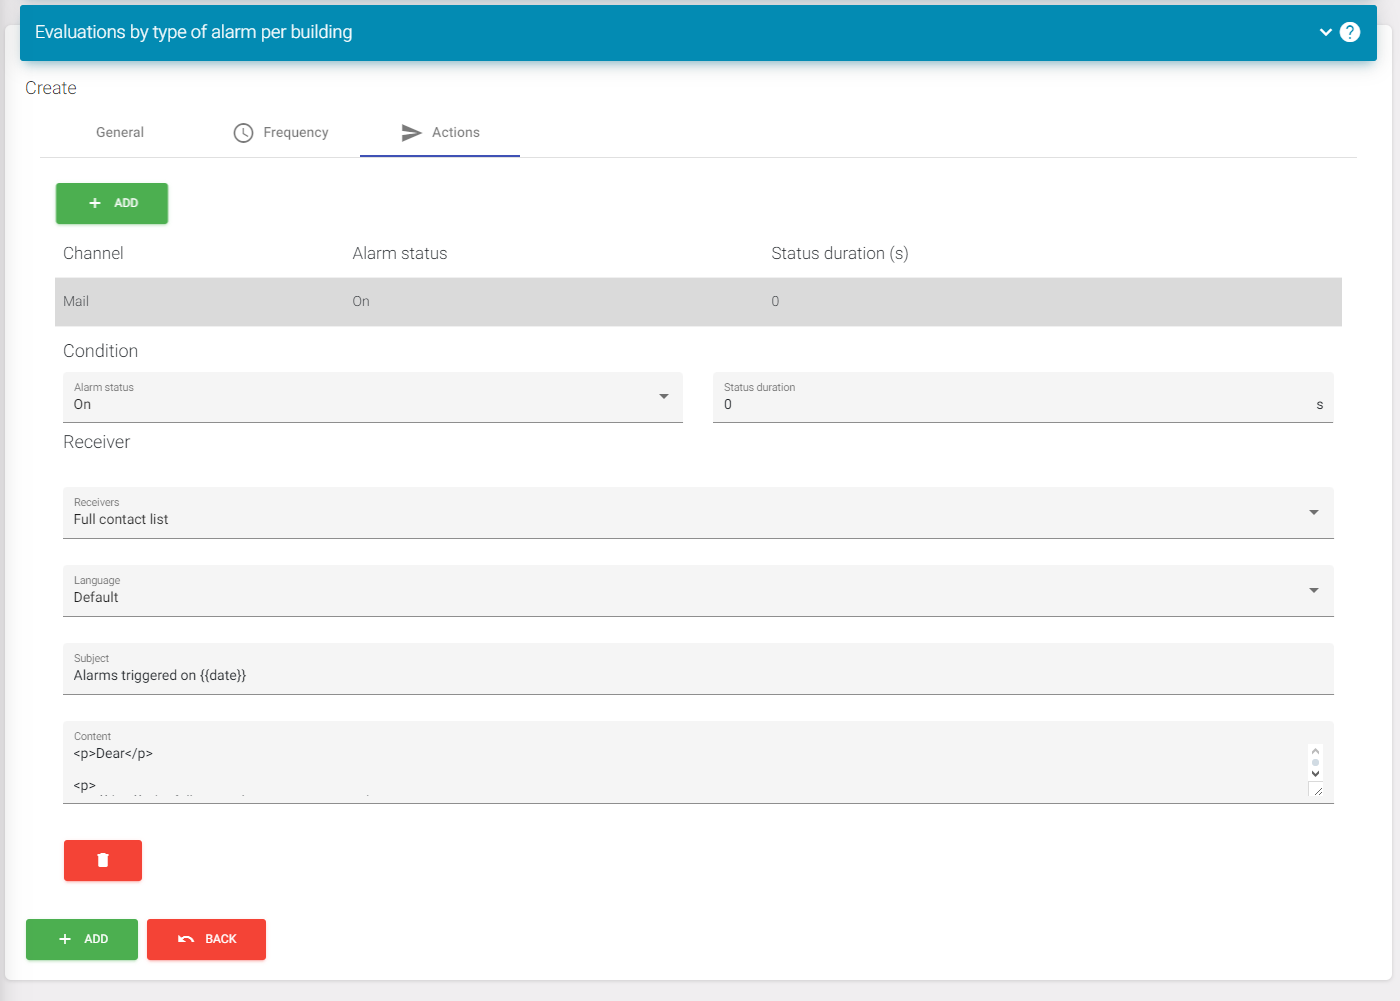
Actions
Once here you need to click on the top most 'Add'. This will add a mail action.
You can then press this to open the menu as shown in the screenshot.
Configuration:
You can make 2 alarms if this is needed. 1 for when the alarm is triggered and 1 for when it' back to normal. This can be configured with the 'Alarm status' and adding 2 actions (1 for each).
On the receivers, you can select 'Fixed'. This will show a box where you can add the emails of the people you want to receive the email.
You can select a language to set up mails for specific languages.
The subject will just be the subject of the email. You can see there is a parameter defined here date this will show the date of the alarm. Later in this tutorial you will see more parameters.
Content is used for the email itself. This uses #points to iterate over each point that's triggered if multiple points have triggered.
When you're done setting this up (you can also do this later), you can click on the bottom side 'Add' and continue to the next step.
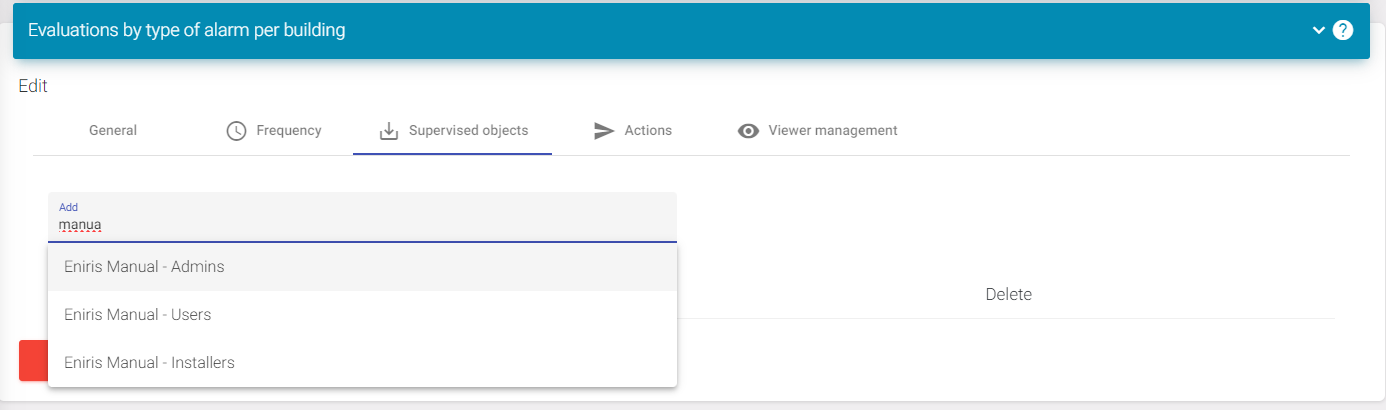
Supervised objects
When you're done with the last steps you will need to go back to the settings icon and find 'Supervised objects'. Then select the site again that you want to overview. If this is done you can go to the next step.
Viewer management
Don't do this but this is information to remove an alarm.
When clicking in the menu to 'Viewer management', you will find the delete button if you want to remove an alarm. Removing all accounts will permanently delete the alarm.

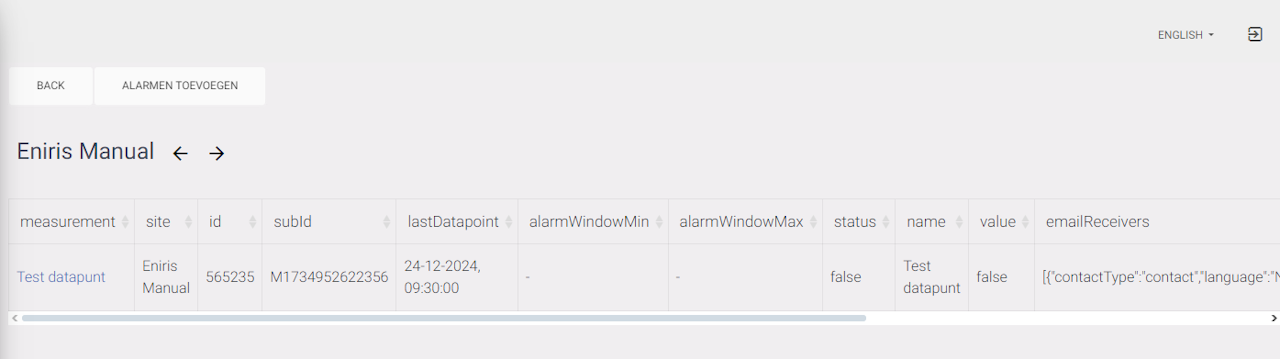
Testing the alarm
Now all steps are correctly executed and you need to go back to the overview page of the alarms. There you need to find your alarm and click on it. If you see the 'View' button, press it.

Final result
If you now see a page like this with a table your alarm will work. You can also see what datapoints are currently being watched for this building here.
If you have further questions or something does not work and you checked every step, please contact support. https://eniris.io/support-ticket/